
You’ve taken the plunge and joined the 5 million creators worldwide that use DaVinci Resolve as their video editor of choice. The first time you open it, though, you’re faced with so many tabs and features that it’s hard to know which ones actually matter. The good news is you don’t need to learn everything at once – just the essentials.
The beauty of DaVinci Resolve is that it’s trusted by industry professionals cutting feature films, yet it’s just as accessible for creators uploading their first YouTube video or TikTok. You get everything you need in one place – from trimming clips to mixing audio and correcting colors – without feeling pressured to master it all at once.
This guide will help you focus on what counts when you’re starting out in DaVinci Resolve. Instead of feeling lost in endless menus, you’ll come away knowing how to get set up, shape your footage into something polished, and share your first finished video with confidence.
- What Is DaVinci Resolve (and is it free?)
- 1. Get comfortable with the DaVinci Resolve workspace
- 2. Import and organize your footage
- 3. Cut and arrange clips on the timeline
- 4. Bring your edit to life with music and sound effects
- 5. Elevate footage with transitions and effects
- 6. Change the aspect ratio (9:16, Square, Widescreen)
- 7. Correct colors before you grade them
- 8. Export your first video

What Is DaVinci Resolve?
DaVinci Resolve is an all-in-one video editing platform. You can use it to arrange your footage, apply effects and transitions, and get your video ready for exporting. It’s trusted by both Hollywood editors and YouTubers, which makes it one of the most powerful free editors around.
That’s right, DaVinci Resolve is free! The standard version has everything you need to get started, with no watermarks or limits on export. There’s also a paid version, DaVinci Resolve Studio, that unlocks advanced features like noise reduction and 8K support. But for beginners, the free version is more than enough.

1. Get familiar with the DaVinci Resolve workspace
One of the first hurdles in DaVinci Resolve is simply understanding the layout. Along the bottom of the screen is a row of pages, each built for a specific stage of editing. Understanding the tools each page contains soon makes DaVinci Resolve feel less overwhelming.
- Media - Where you import and organize your clips, audio, and graphics before editing.
- Cut - A streamlined editing page designed for quick, simple edits. Handy for short projects or social content.
- Edit - The main editing hub, with all the tools you need to cut, arrange, and fine-tune your clips. This is where most creators spend their time.
- Fusion - The visual effects page. Here you can create advanced motion graphics and compositing, though beginners can skip this for now.
- Color - Resolve’s most famous feature with professional-level color correction and grading tools to polish or stylize your footage.
- Fairlight - The dedicated audio workspace. Perfect for detailed sound design, mixing, and voiceovers if you want total control.
- Deliver - The final stage, where you set your export format and render your finished video.
As a beginner, you’ll get the most value from the Edit page (to cut and arrange your clips) and the Deliver page (to export your final video). These two are the core of your workflow, and focusing on them first makes Resolve much easier to learn.
2. Import and organize your footage ready for editing
Before you can start cutting clips together, you need to bring all of your media into Resolve. The Media Pool is where every piece of your project lives – from video clips to sound effects to graphics. Getting organized here sets you up for a smoother edit later.
How to import your footage into DaVinci Resolve:
- Open the Media page or the Media Pool panel in the Edit page.
- Right-click inside the Media Pool and choose Import Media, or simply drag files in from your computer.
- Once imported, your clips will appear in the Media Pool, ready to be dropped into a timeline.
- Create bins (folders) by right-clicking in the Media Pool and selecting Add Bin. Use these to group your assets – for example, “Footage,” “Music,” “Sound Effects,” and “Graphics.”
Keeping everything in the right place might not seem essential at first, but it becomes a lifesaver as your projects get bigger. A well-organized Media Pool makes it easier to find the exact clip you need without breaking your flow.

3. Cut and arrange your clips on the timeline
Once your clips are imported, the timeline is where the editing magic happens. This is the space where you’ll piece together your story, trimming down raw footage and arranging it into a sequence that flows. Think of it as your canvas – everything you do here will shape the final look and feel of your video.
How to cut and arrange clips in DaVinci Resolve:
- Drag your clips from the Media Pool down onto the timeline in the order you want them to appear.
- Use the Arrow tool (A) to select and move clips around.
- Switch to the Blade tool (B) to make precise cuts wherever you click on a clip.
- Trim the ends of clips by dragging from either side – this is the fastest way to remove unwanted moments.
- Pay attention to how your edits line up. If you want gaps to automatically close when you cut, use ripple editing. If you’d rather replace clips exactly where they are, use overwrite editing.
This stage is all about experimentation. Move clips around, try different pacing, and don’t worry about getting everything perfect on your first pass.
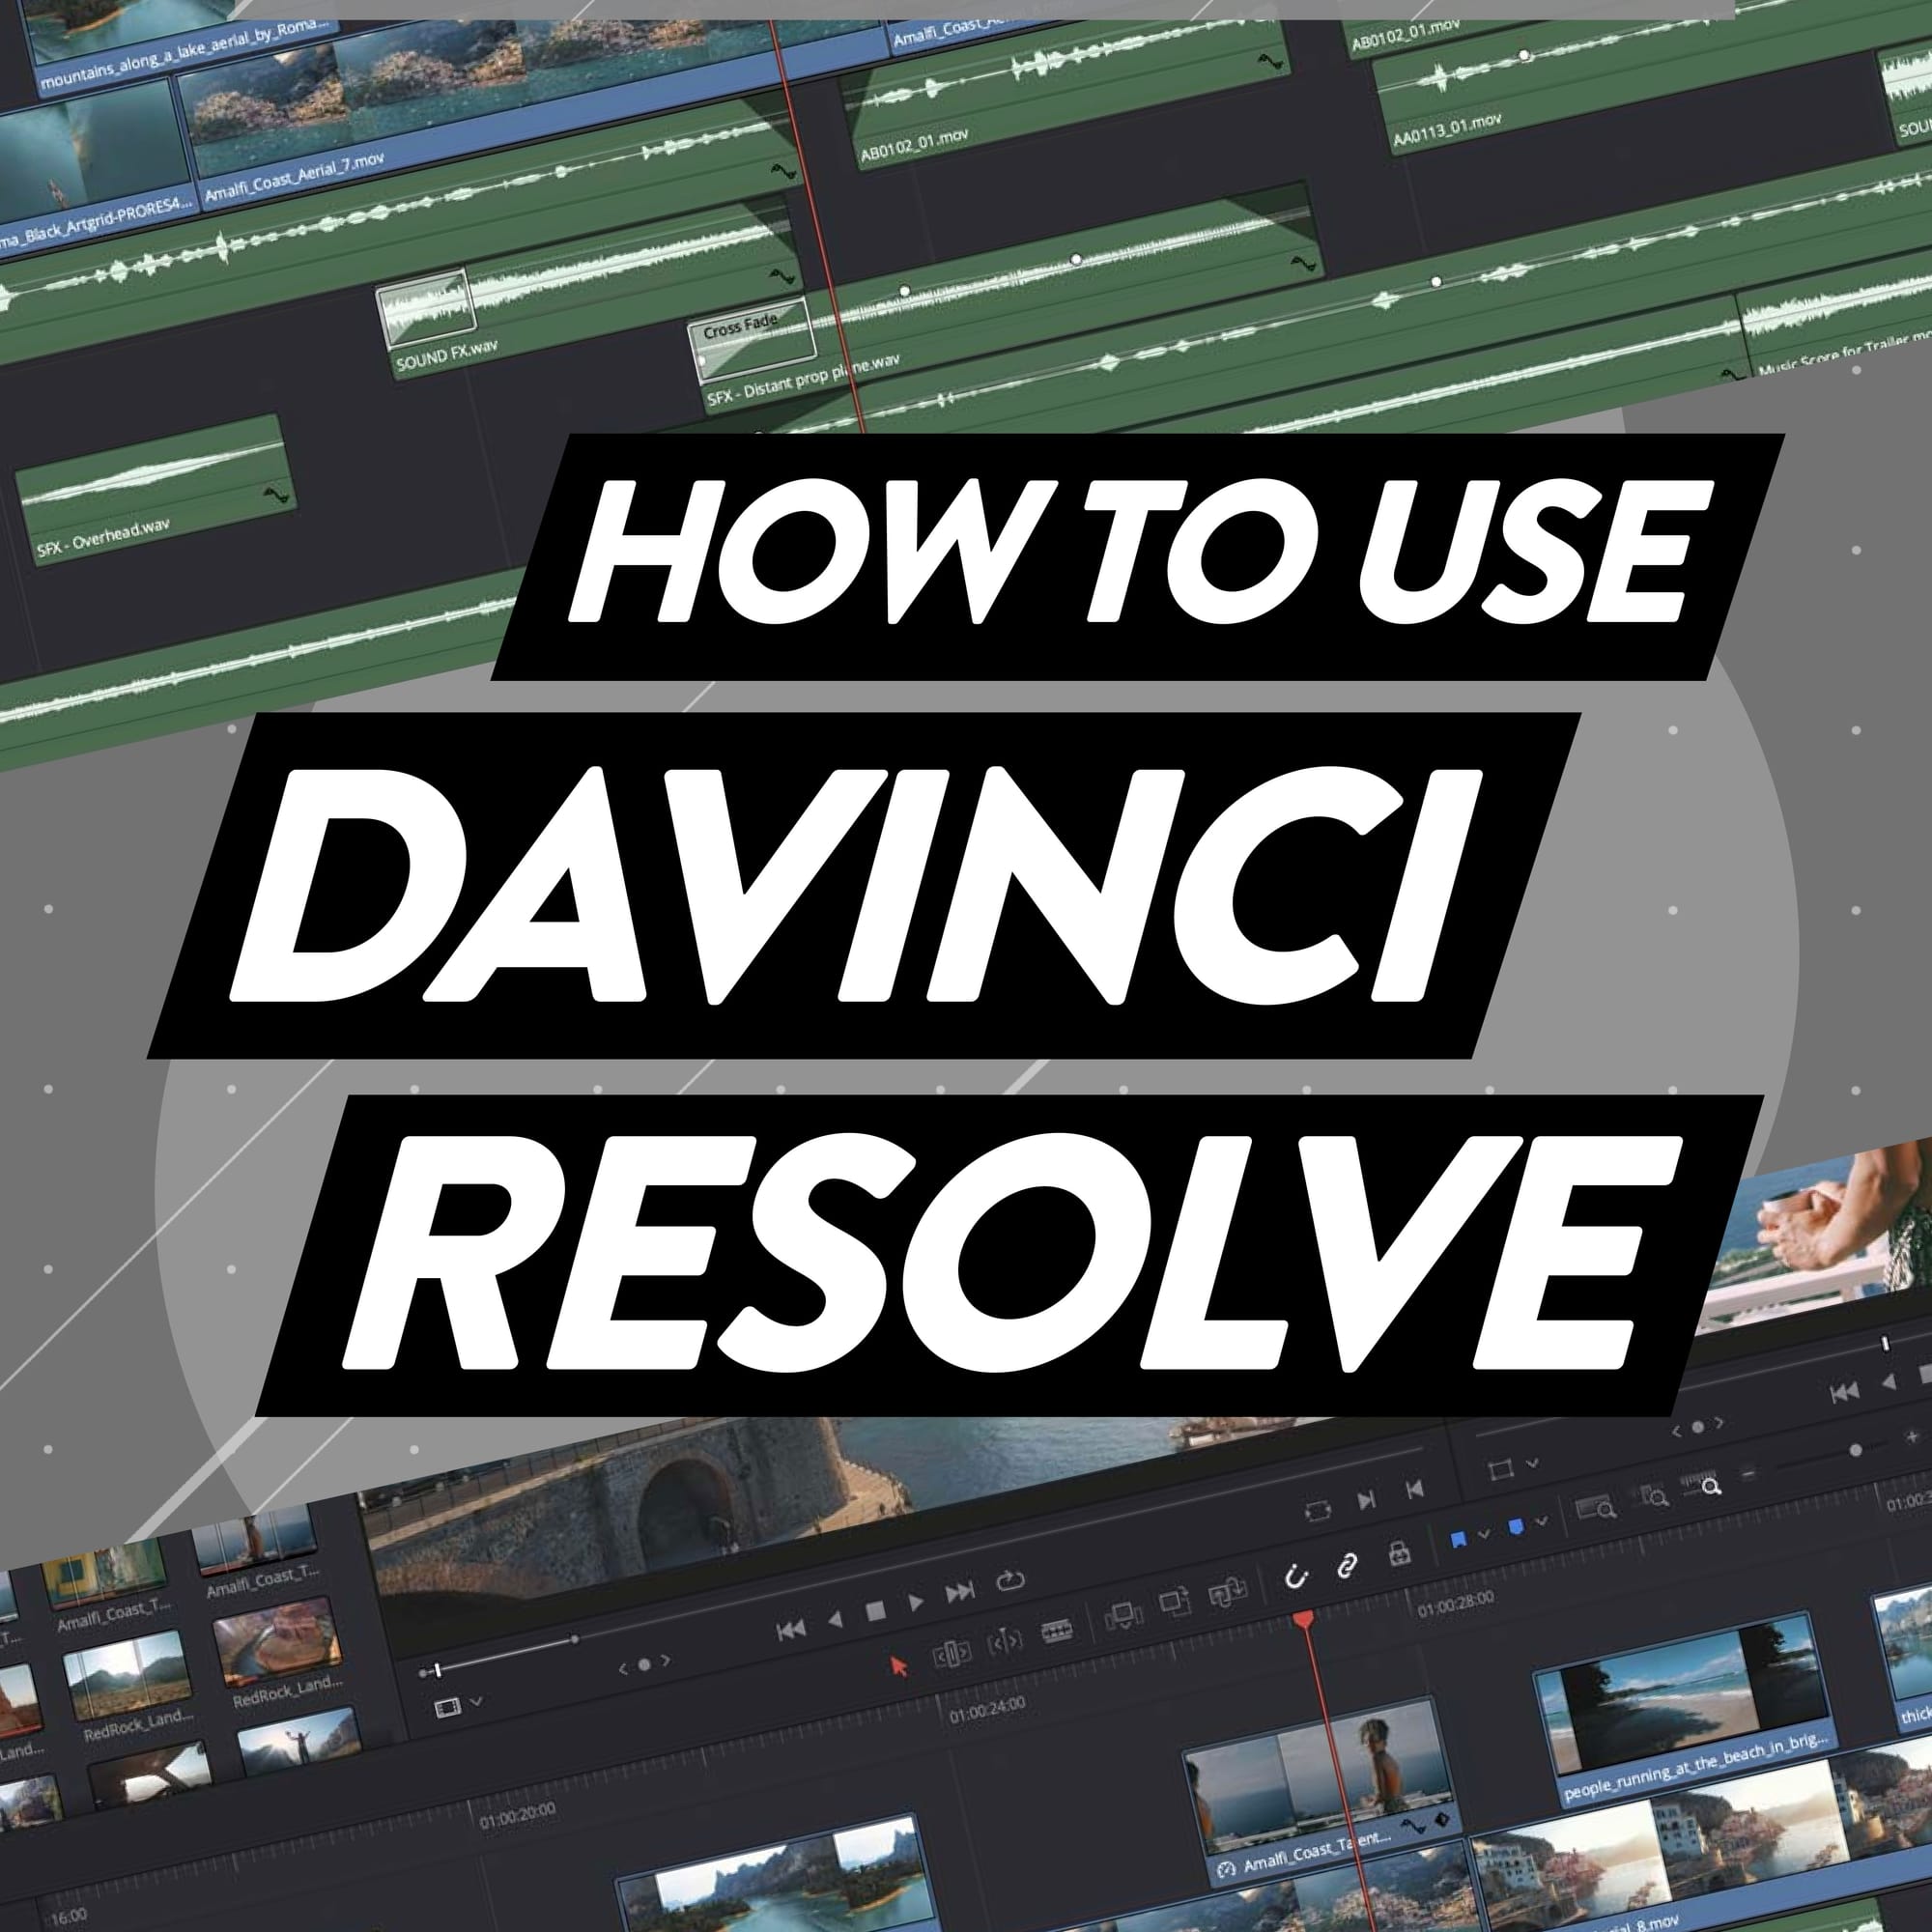
4. Bring your edit to life with music and sound effects
Great visuals only take you so far – it’s the audio that gives your video energy, emotion, and polish. Adding music and sound effects in DaVinci Resolve is straightforward, and it makes a huge difference to how professional your edit feels.
How to add music and sound effects in DaVinci Resolve:
- Import your music tracks or sound effects into the Media Pool just like you did with video clips.
- Drag the audio file down onto an audio track beneath your video on the timeline.
- Line up the music or effects with your footage so they sync with what’s happening on screen.
- Adjust the volume by selecting the audio clip and dragging the white line that runs through it up or down.
- If dialogue is competing with background music, lower the music’s volume until voices sound clear.
- To create smooth transitions in audio, right-click on the audio clip and add a fade in or fade out.
Layering different types of audio – like background music, sound effects, and voiceovers – helps your video feel more dynamic and engaging.

5. Elevate footage with transitions and effects
Smooth transitions and subtle effects can make your video feel more polished and professional. DaVinci Resolve gives you plenty of options, but the key as a beginner is to start simple. A few well-placed fades can elevate your edit far more than flashy effects you don’t need yet.
How to add transitions and effects in DaVinci Resolve:
- Go to the Effects Library on the Edit page (top left of the screen).
- Open the Video Transitions folder to browse options like Cross Dissolve, Fade to Black, or Dip to Color.
- Drag your chosen transition onto the cut between two clips on the timeline.
- To adjust the timing, grab the edge of the transition on the timeline and drag it shorter or longer.
- Explore basic video effects under OpenFX in the Effects Library – these include blur, glow, and sharpening.
- Apply an effect by dragging it onto a clip, then fine-tune the settings in the Inspector panel.
With transitions and effects, less is usually more. Focus on enhancing your story, not distracting from it. And while you can choose effects in Davinci Resolve itself, give yourself more options by checking out transitions and effects in Uppbeat’s motion graphics library.
6. Change the aspect ratio to suit any platform
Not every video is destined for the same platform. YouTube typically calls for a widescreen 16:9 format, while TikTok, Instagram Reels, and YouTube Shorts all use a vertical 9:16 aspect ratio. DaVinci Resolve makes it easy to adjust your project settings so your video looks right no matter where it’s going.
How to change the aspect ratio in DaVinci Resolve (or crop your video):
- Click the cog icon (bottom right) to open Project Settings.
- Under Timeline Resolution, set your project dimensions:
- 1920x1080 (16:9) – Standard YouTube widescreen.
- 1080x1920 (9:16) – Vertical format for TikTok/Reels/Shorts.
- 1080x1080 (1:1) – Square format for Instagram feed.
- Hit Save to apply changes.
- On the Edit page, select each clip and open the Inspector panel. Use the Zoom and Position controls to crop or reframe your footage so it fits the new aspect ratio.
- Preview your timeline to make sure no important details are cut off.
Adjusting aspect ratio early in your workflow saves headaches later and makes your content look natural on the platform you’re creating for.

7. Apply basic color correction to enhance your footage
Even well-shot footage usually needs a little polish. Lighting conditions, camera settings, and even time of day can affect how your clips look. DaVinci Resolve is famous for its powerful color tools, but as a beginner, you’ll get great results just by learning the basics of correction before diving into advanced grading.
How to correct colors in DaVinci Resolve:
- Switch to the Color page using the tabs at the bottom.
- In the Color Wheels panel, start with the Lift, Gamma, and Gain controls:
- Lift – Adjusts the shadows (dark areas).
- Gamma – Adjusts the midtones (most of your image).
- Gain – Adjusts the highlights (bright areas).
- Increase or decrease these until your footage looks balanced – not too dark, not too bright.
- Use the Temperature slider to fix any color cast (too blue or too orange).
- Check skin tones if people are in your video. They should look natural, not washed out or overly saturated.
- Preview your clip against others on the timeline to keep a consistent look across your project.
These small adjustments go a long way in making your footage look more professional before you even think about creative color grading.
8. Export your finished content, ready to upload!
Once your edit looks and sounds the way you want, the final step is getting it out of DaVinci Resolve and ready to share. This is done in the Deliver page, where you’ll choose your settings and render a finished file. Resolve gives you loads of options, but sticking to the right preset makes the process simple.
How to export a video from DaVinci Resolve:
- Switch to the Deliver page using the tabs at the bottom.
- In the Render Settings panel, choose a preset that matches your platform – for example, YouTube, Vimeo, or Twitter.
- If you want to set things manually, a safe choice for most platforms is:
- Format: MP4
- Codec: H.264
- Resolution: 1920x1080 (1080p)
- Frame rate: Match your project (usually 24 or 30fps)
- Choose where to save your file by clicking Browse under Location.
- Click Add to Render Queue on the right.
- Finally, hit Start Render and let Resolve process your video.
That’s it – you’ll now have a finished file you can upload to YouTube, TikTok, or any other platform.

Create with confidence using DaVinci Resolve
Learning how to use DaVinci Resolve doesn’t mean mastering every advanced tool right away. Focus on the essentials – from setting up your workspace through to exporting your video – and you’ll soon have the skills to take a project from raw footage to a finished video. Once you have the basics covered, you can explore all DaVinci Resolve’s features and shortcuts too.
To really make your edits stand out, you’ll need to pair your visuals with the right sounds. Uppbeat’s free music and sound effects library has you covered with thousands of copyright-free tracks to bring your videos to life, all completely safe from copyright issues.